


0:00
Printhead Seal Change
Replace Printhead Mixing Chamber Seals
This guide shows how to replace the three seals inside the printhead mixing chamber. Use the video for the full demonstration and this page to quickly find each step.
Goal: remove the 3 old seals and install 3 new ones.
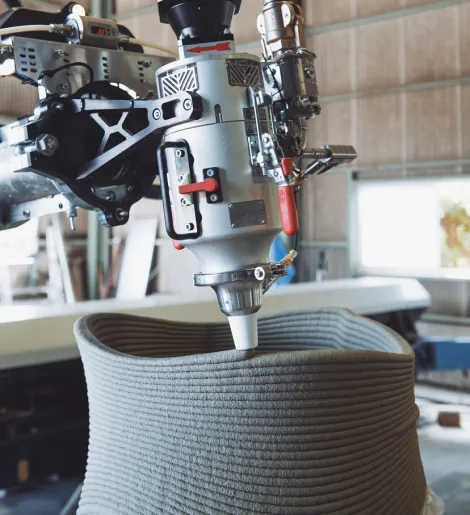
Dismount the Printhead
- Remove the printhead from the robot arm
- Place it on a flat, soft surface (not hard metal)
Remove Protective Covers
Using a 3 mm Allen key
- Remove 8 screws
- Take off the 4 protective grids
Separate the Housing
Using a 5 mm Allen key
- Remove the 4 screws from the top cap
Using a size 10 wrench
- Loosen the 3 hidden bolts
Then:
- Two people required
- Carefully split the parts
- Use a rubber hammer if needed
Important:
- Do NOT hit the axle
- Do NOT use a steel hammer
Remove Stuffing Components
- Remove 3 screws and washers from the stuffing flange
- Push stuffing boxes slightly inward
- Pull them out
Discard them — they cannot be reused
Clean All Parts
Before installing new seals:
- Thoroughly clean every component
- The seal housing must be perfectly clean
This step is critical for proper sealing.
Install New Seals
Insert seals one at a time:
- Slightly shape seal into a circle
- Press one side inside
- Press remaining section evenly
Seal positioning
- Install second seal at 120°
- Install third seal at 120° from the others
- Use the white alignment line as reference
Notes:
- Third seal is the hardest (limited space)
- Use spacing tool so the shaft can slide in later
Reinstall Stuffing Flange
- Insert washers
- Tighten screws evenly
Target gap:
- Leave 5 mm gap between flange bottom and housing
- Use a 5 mm spacer to verify
Reassemble the Housing
Two people required
Orientation:
- Bubble level → front
- Sensor → back
Careful:
- Safety clip may pop out
- Tap only the aluminum casing
- Never hit the green seal
Tighten Bolts
Using 5 mm Allen key:
- Tighten evenly
Then:
- Gradually reduce gap from 5 mm → 2 mm
- Tighten the 3 bolts slowly and equally
(Patience required — fans limit access)
Reinstall Protective Grids
- Mount grids
- Lightly tighten the top screws
- Only secure enough to hold position
Reconnect the Printhead
- Mount printhead on robot arm
- Connect cables (twist to lock)
- Ensure spacer fits in slot
- Connect SHs wire
- Place wire in its mounting location
The printhead is now ready for operation.
Private acess
